Figma is a UI design and prototyping tool. It helps clients or users to visualize the final product without investing hours in coding.
Designing existing apps can be a great start for figma beginners. In this article, we will be designing Instagram homepage in figma.
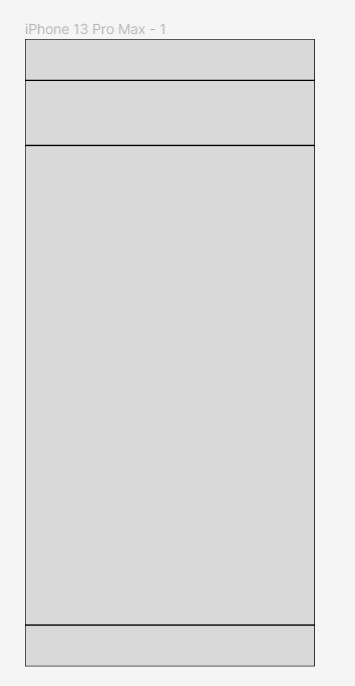
Figma: Setting up the environment

Now, select the left most icon in the top navigation and select “Plugins” > “Browse Plugins in Community”.
Search and install following plugins:
- UI Faces
- Material Design Icons
- Multiply
- Material Symbols
- Font Awesome Icons
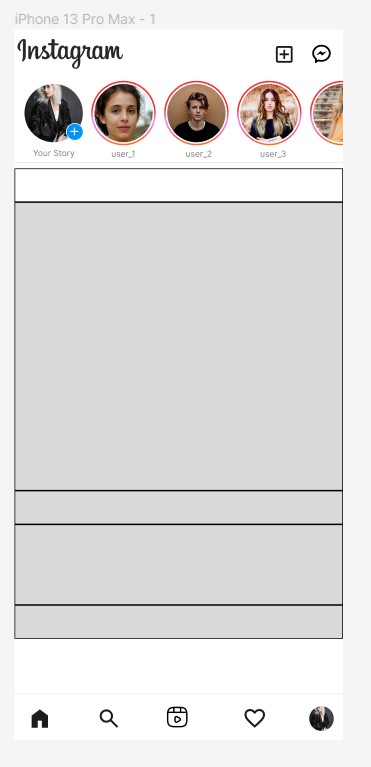
Designing Instagram header
|
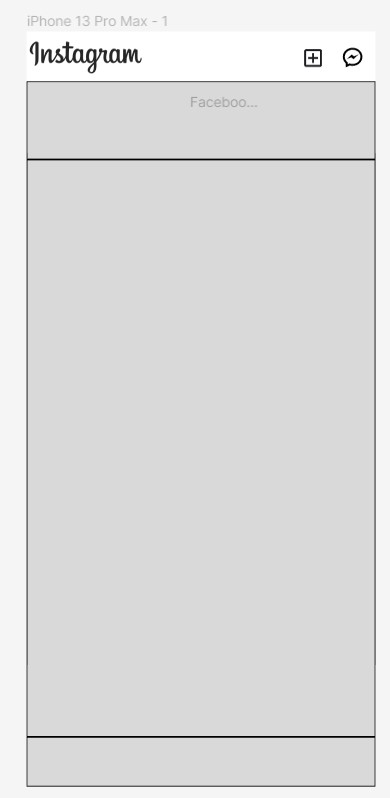 |
Designing Instagram Stories Section
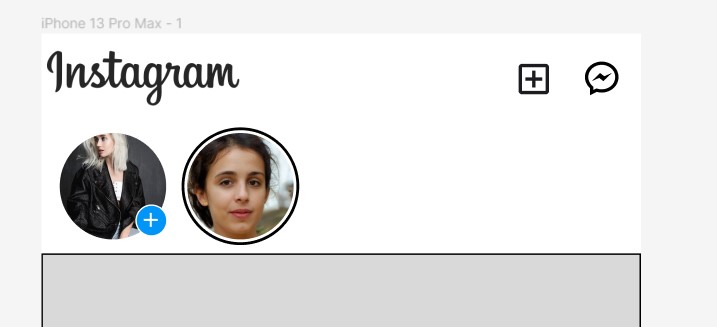
Part 1: Profile pic and add button
- Change the background and border color of the second block to white.
- Create circle of width and height 76 and place it at the left end of the block.
- Now, we will be using the plugin called UI faces to insert profile pic in the circle.
- Open the UI faces, then select the circle and click apply avatar. A random image will be inserted in the circle.
- Add another circle of width and height 23. Fill the circle with the color code of #0095F6 and add change border color to white.
- Using Material Symbols plugin, insert “plus” symbol and place it in the center of the little circle as shown in the image.
- Select “plus” icon and blue circle then right click and select “Group selection”.
- Move the little circle around the profile pic as shown in the image.
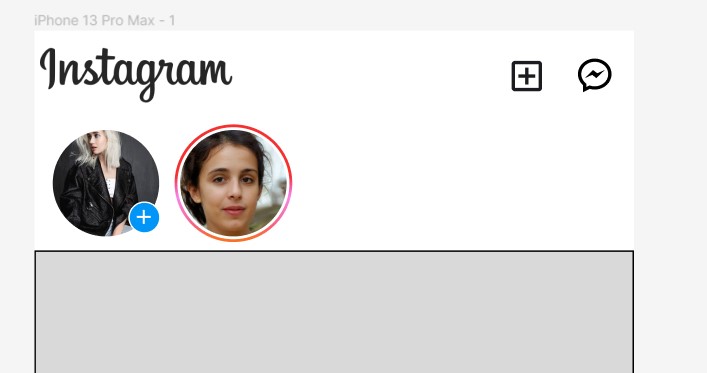
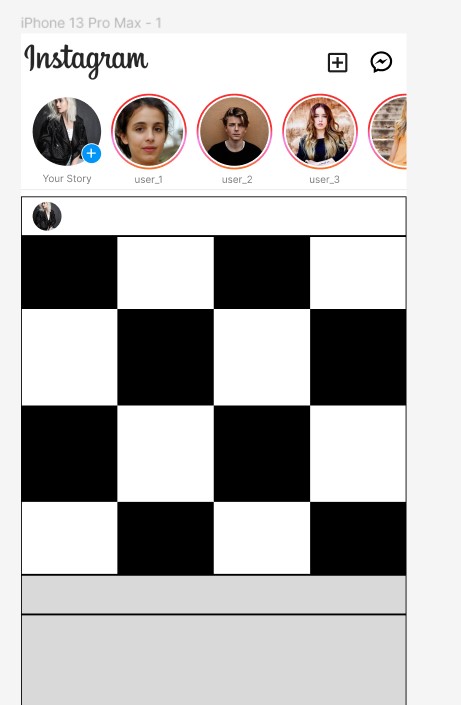
Part 2: Instagram Stories
- Click the profile pic and using Multiply plugin, create one more duplicate of the profile pic in the same column.
- Using UI faces plugin, change its avatar.
- Now, create a circle of width and height 80. Remove its fill by clicking on the “eye symbol” on the right side in the fill section.
- Increase the stroke width to 2, in the stroke section.
- Click the stroke color, a box will appear. on the top left of the box click the dropdown and select linear.
- Add colors like red, pink and orange in the linear gradient to create Instagram story like effect as shown in the picture.
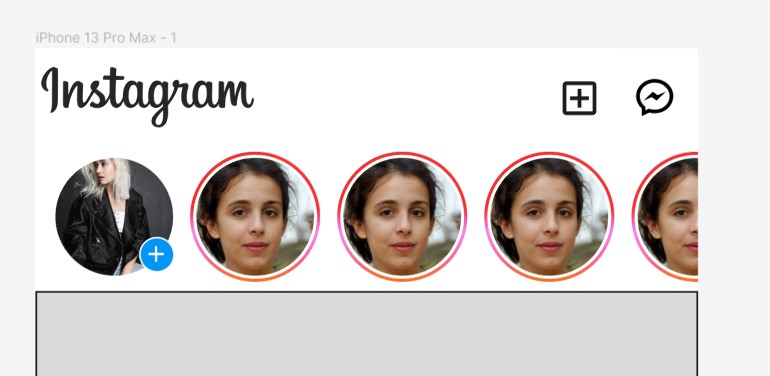
- Finally, group the pic circle and story circle together and duplicate it using Multiply plugin and change avatars of other circles using UI faces plugin.

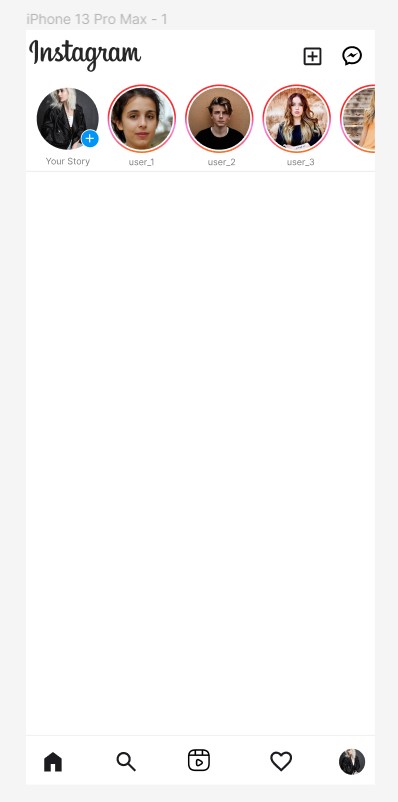
Designing Instagram bottom navigation
Change the background, border color of the last block to white.
Copy the profile pic from first block and place it in the rightmost end of this block with the width, height of 32 and add all the Instagram navigation icons as shown in the following image.

Note: For the reels icon, download a svg from google images
Now the design looks as follow:
Designing Post Section of Instagram
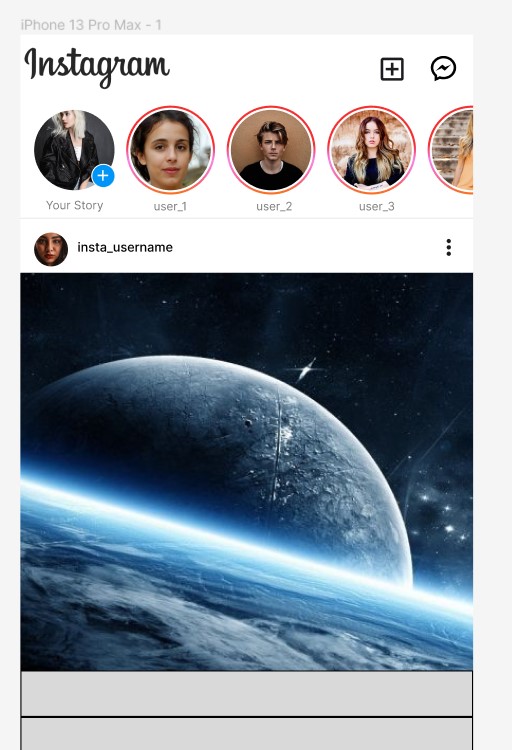
Part 3: Third block
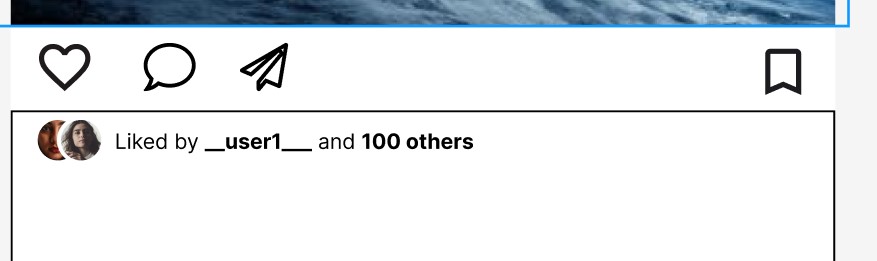
Using Font awesome, material design icons or material symbols plugins, insert and place all relevant icons as shown in the image.
Part 4: Fourth block
- Copy the profile pic from the bottom navigation, change its width, height to 25 and place it in the leftmost end of the fourth block.
- Copy the new profile pic, change its UI using UI faces plugin, change its border color to white and place it above the other image (use bring to front, when right clicked) as shown in the following image.
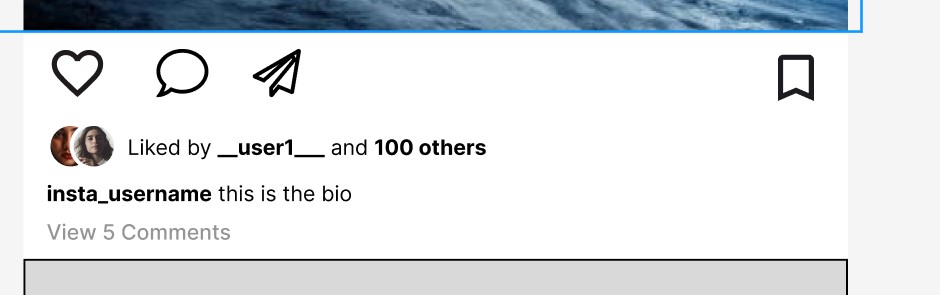
- Insert a text of font size 11 with the text “Liked by _user1_ and 100 others” and bold the relevant parts as shown in the following image.
- Insert another text of size 11 and add the username added to the post with a desired bio as shown in the following image. Also, bold the relevant parts.
- Insert another text of size 11 and give it some grayish color, and write “View 5 comments”, as shown in the following image.
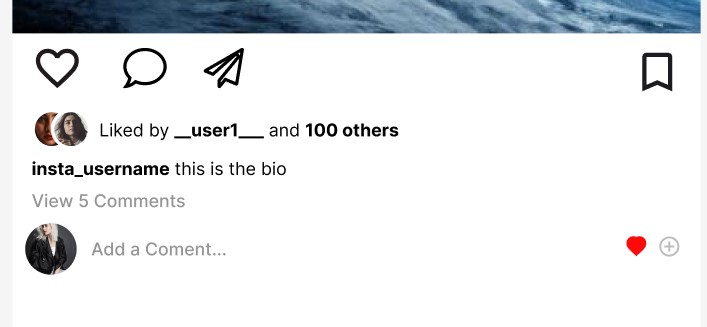
Part 5: Fifth block
- Change the background and border color of the fifth block to white.
- Copy the profile pic from bottom navigation and place it at the leftmost end of the fifth block.
- Insert a text of size 11 and write “Add comment…”. Place it on the right of the image.
- Insert a heart, circular add icon using any of the icons plugin and place them at the rightmost end of the block as shown in the following image.
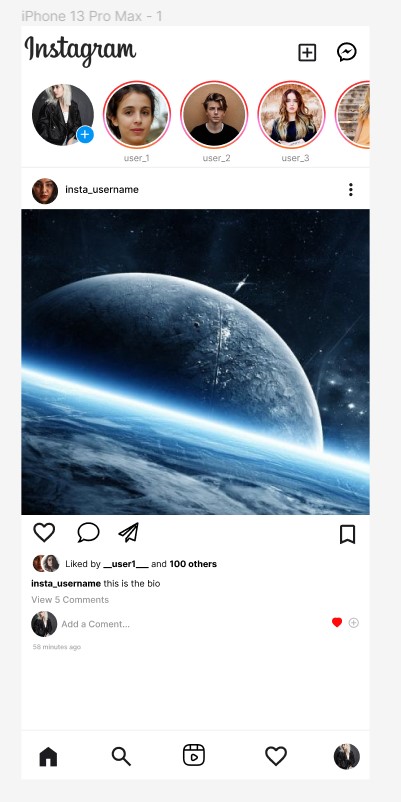
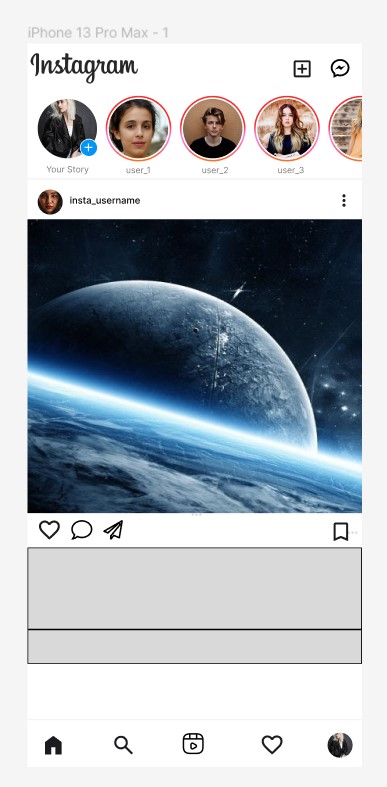
Completed Instagram Homepage design in Figma